Introduction
The IOX-CLAMP allows a read-only connection to the vehicle CAN bus using a capacitive clamp to get vehicle data without electrical contact, thereby preventing vehicle interference and not voiding the manufacturer's warranty. It automatically detects polarity, baud rate, and CAN bus protocol. No configuration is required.
Recommended Tools & Consumables
-
-
Before starting the installation, ensure that the GO device is unplugged from the vehicle.
-
-
-
If a GO Device is already installed, unplug the GO device from the vehicle before preceding with the next steps.
-
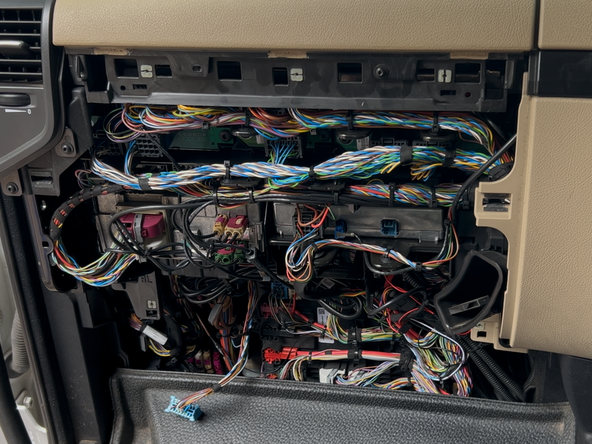
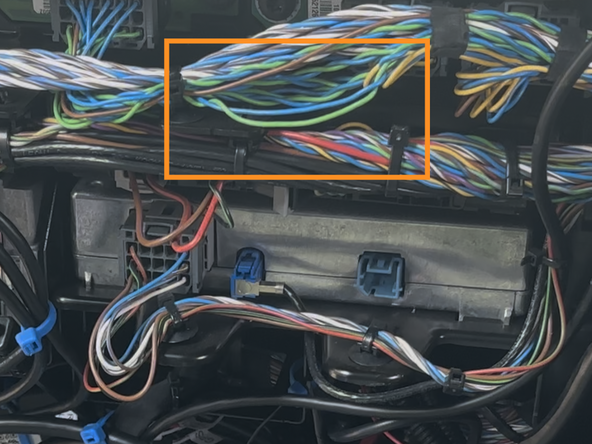
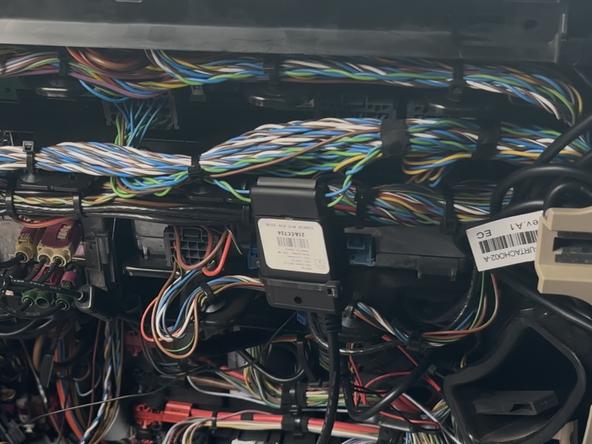
Identify the intended installation location and wiring for the IOX-CLAMP.
-
If the wires are twisted, slightly untwist them first.
-
Refer to the CAN Bus Location Guide for a list of vehicle specific wire locations.
-
-
-
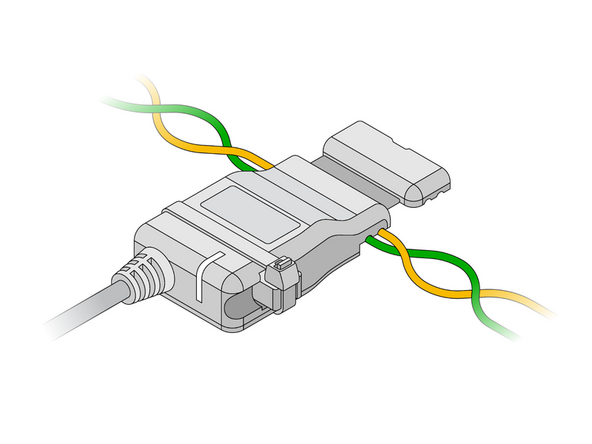
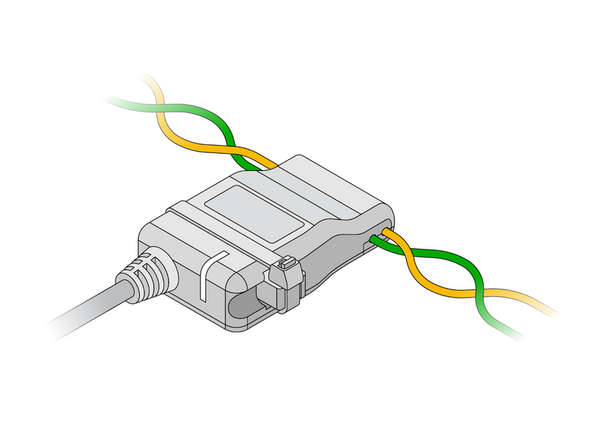
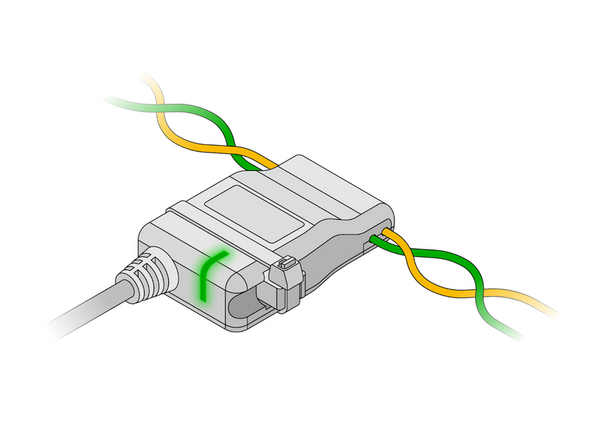
Open the clamp and insert the wires into either of the device cavities.
-
Ensure the wires are seated in the grooves of the clamp.
-
The IOX-CLAMP features automatic polarity detection, allowing either wire to be inserted into either of the clamp's cavities.
-
Never cut, extend or modify the vehicle CAN bus wires.
-
Do not connect the clamp to any wires from the CAN bus CAN-A (pin A4 and A8) of a tachograph, because most of the parameters cannot be obtained via these wires.
-
-
-
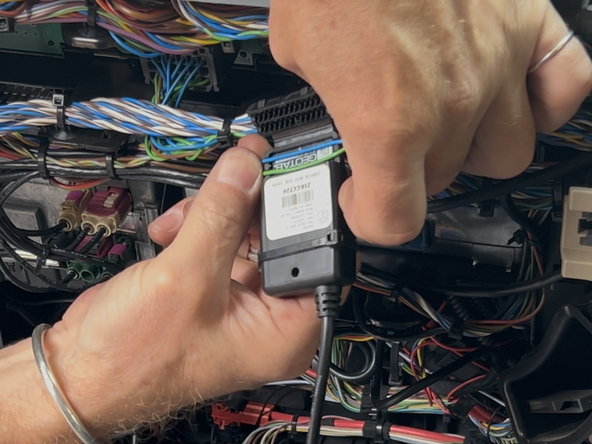
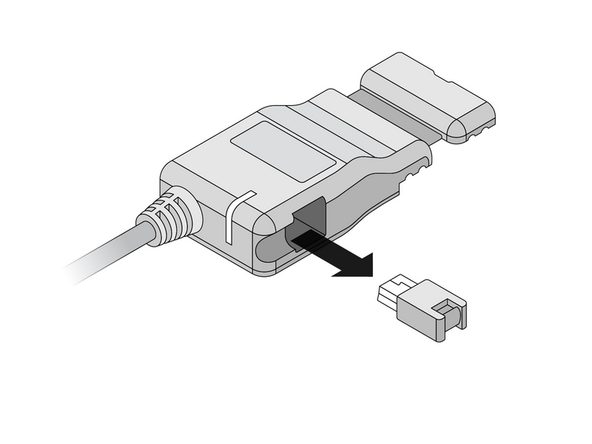
The IOX-CLAMP comes with a termination shunt installed in the expansion port. If you need to install more than one IOX in a daisy chain, you must remove the shunt from each device in the line, except for the last IOX connected.
-
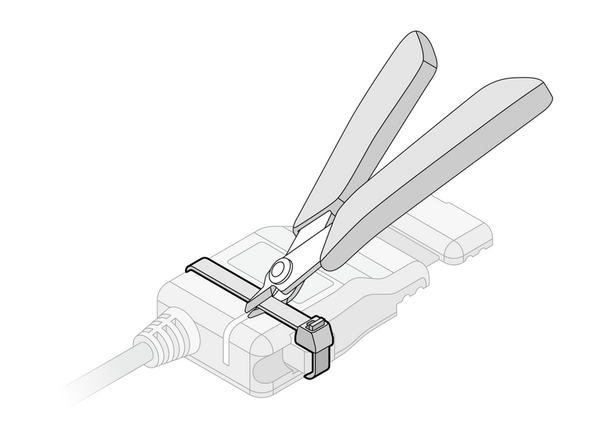
The shunt must remain in the last IOX and be secured with a cable tie. The shunt in the last IOX ensures that the GO device detects and configures the IOX as effectively as possible.
-
Remove the termination shunt located on one of its harness branches by cutting the cable tie and unplugging the shunt.
-
-
-
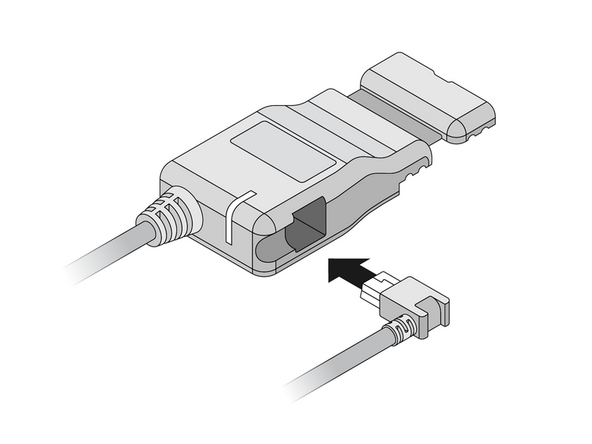
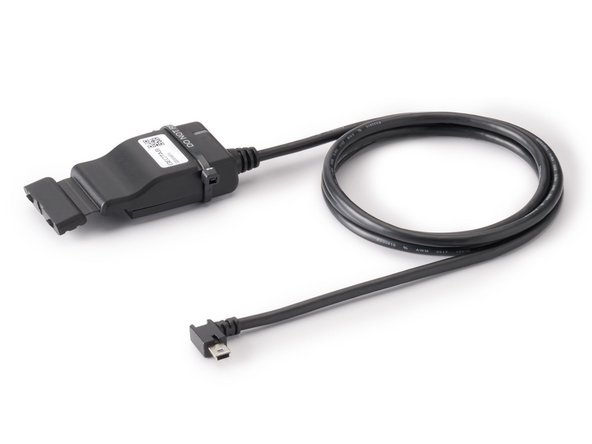
Remove the expansion Port cover on the GO device.
-
Plug in the 90° USB connector from the IOX-CLAMP into the GO device.
-
The USB connector must be inserted in the orientation displayed in the image to the right, with the 90° bend facing away from the GO device’s OBD-II connector.
-
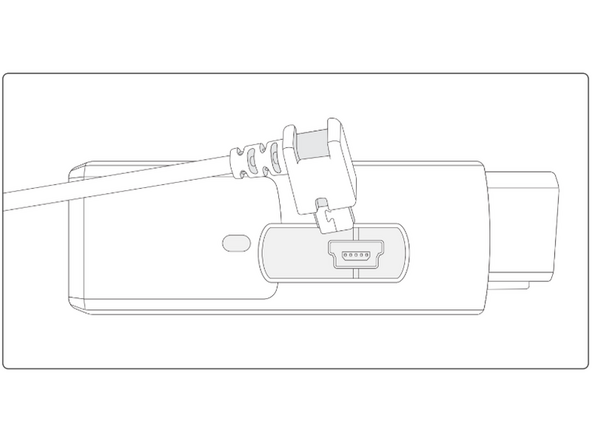
Secure the USB connector using a cable tie.
-
DO NOT OVER-TIGHTEN! the cable tie as this can damage the USB connector.
-
Trim any excess tie.
-
-
-
If you are installing the IOX-CLAMP in a vehicle that does not natively support the GO device, a 3-wire harness must be used to install the GO device. Refer to the HRN-CW03K3 guide for installation instructions.
-
If the IOX-CLAMP is being used to complement a GO device and a vehicle interface harness, then refer to the Harness page for installation instructions.
-
Refer to the Vehicle and Harness Register for a list of vehicle support via IOX-CLAMP.
-
-
-
The IOX-CLAMP device has a status LED that produces a series of blinks followed by a pause.
-
Ensure that the vehicle ignition / engine is ON when checking the installation status. If the LED is off, it may be due to a power problem or device failure.
-
Once the ignition / engine is on, after a few minutes, if the installation is correct, the light sequence should be SOLID Green.
-
If you see a different light sequence, refer to the IOX-CLAMP page for troubleshooting steps.
-