
Recommended Tools & Consumables
Hardware & Accessories
-
-
Before starting the installation, ensure the Geotab GO device is unplugged from the vehicle.
-
-
-
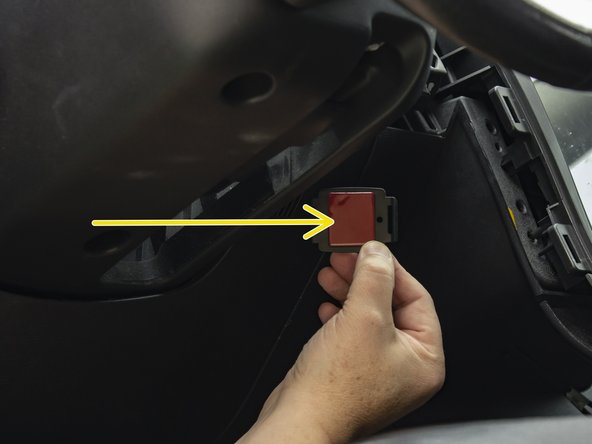
Locate and identify a location to mount the NFC reader.
-
Exposed cable should be kept to a minimum.
-
It is recommended that you review and confirm the location with the customer and/or operator prior to installation.
-
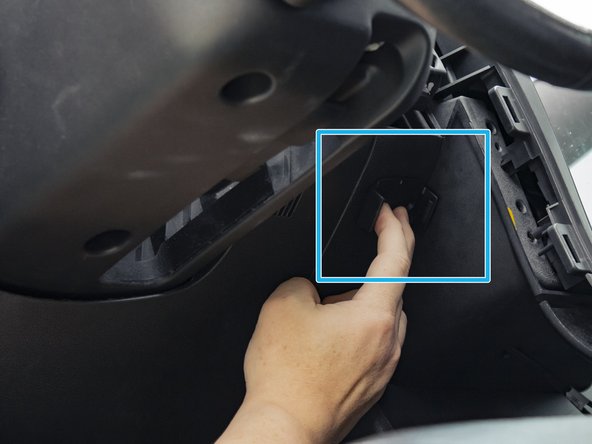
Prepare the surfaces (the mounting location on the vehicle, and the bracket) using an isopropyl alcohol prep wipe (not included).
-
-
-
If you are not using the included screws (for example, if the customer does not want to drill holes in the dash), we recommend you also use an adhesive promoter (not included) when bonding to plastics.
-
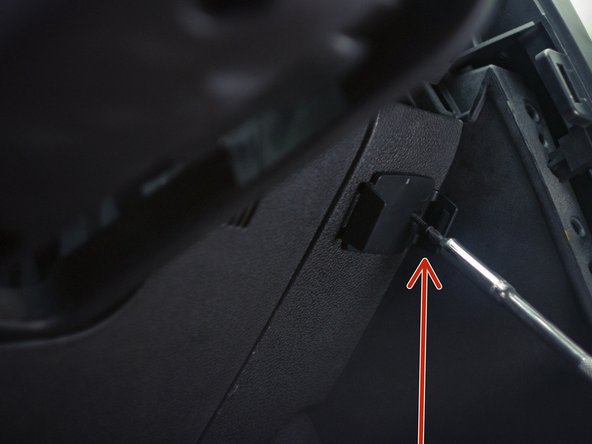
Apply adhesive pad to the included bracket.
-
When bonding the bracket to your mounting location, apply firm pressure for approximately 30 seconds to ensure a proper bond.
-
-
-
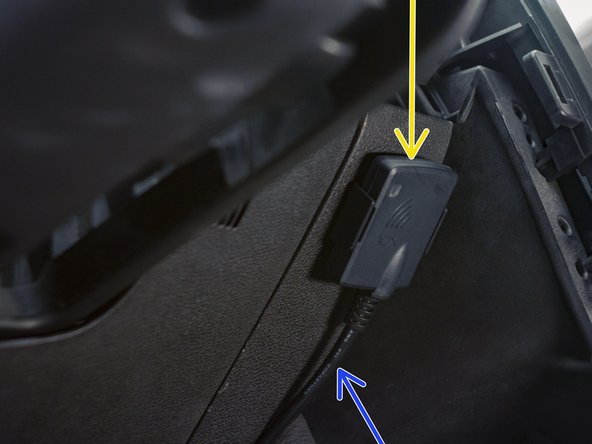
Please see this support page if using the additional SPR-RELAYKIT for circuit interrupt solutions.
-
Please see this support page when connecting additional IOX devices to an IOX-NFCREADERA.
-


Team

Authors: Field Service Install Member of Authors: Field Service Install
2 Members
10 Guides authored