
Recommended Tools & Consumables
Hardware & Accessories
-
-
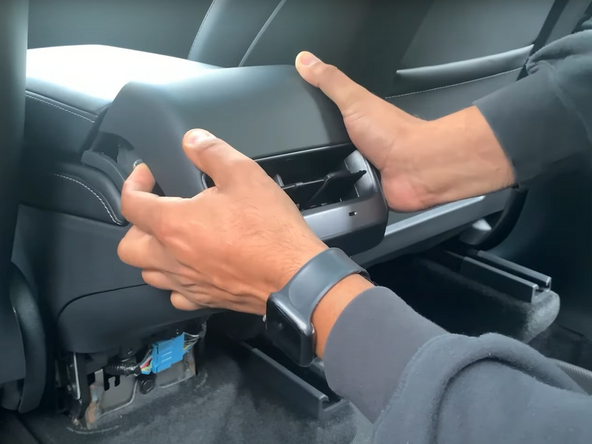
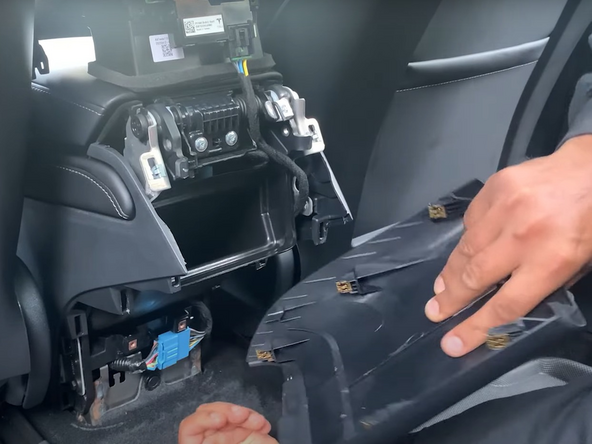
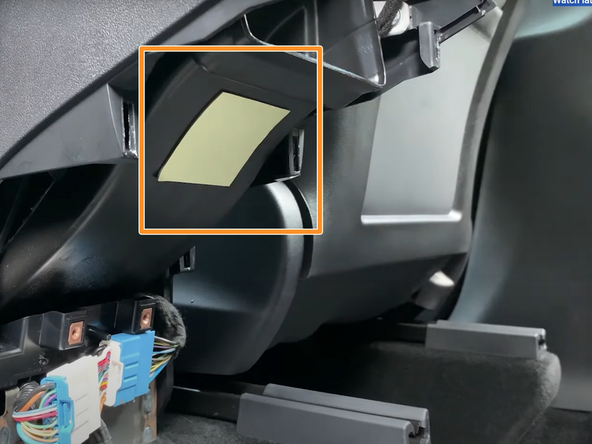
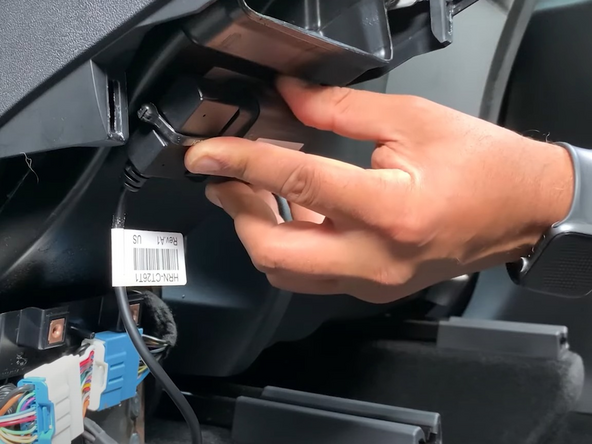
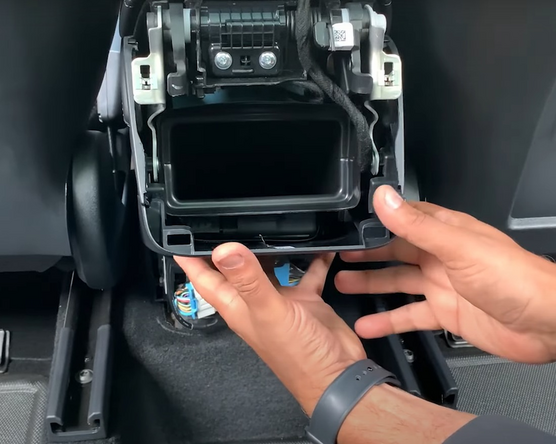
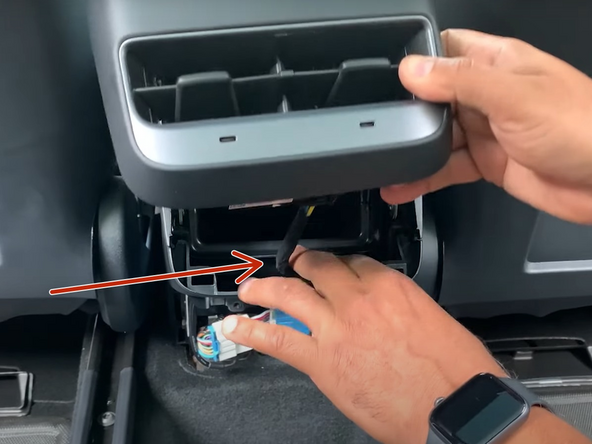
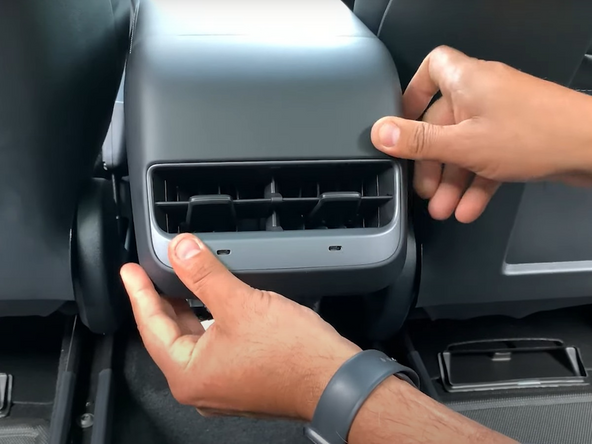
The Tesla connector is located behind the lower center console panel which is held in with clips.
-
For ease of installation, move both driver and passenger seats to their most forward position.
-
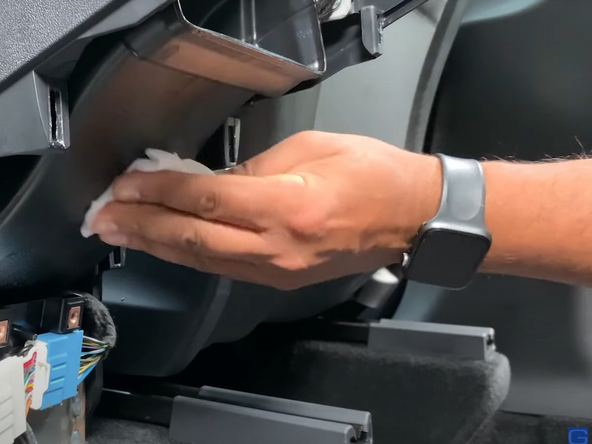
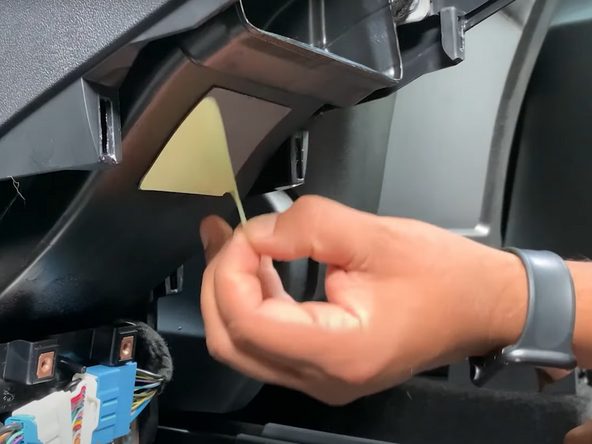
Slide the end of a panel removal tool under the right side of the panel, twist slightly to release the clips, and then remove the panel.
-


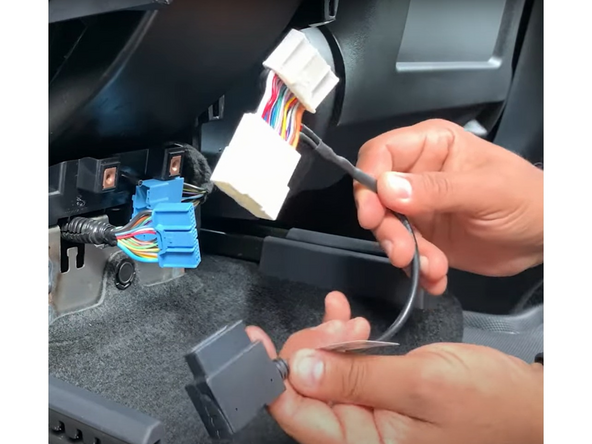


Almost done!
Finish Line