Recommended Tools & Consumables
Hardware & Accessories
No Hardware & Accessories specified.
-
-
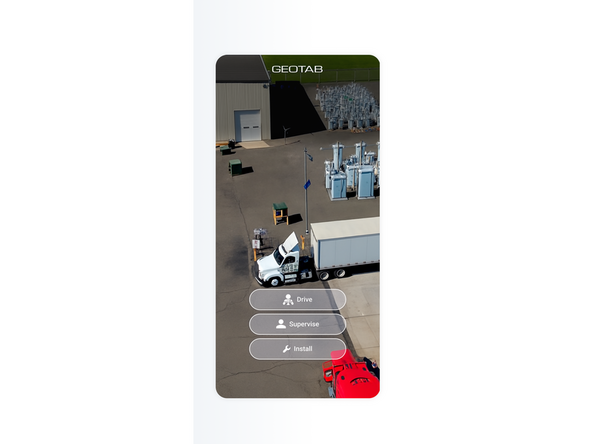
On your phone, download Geotab video app
-
Apple Geotab Video
-
Android Geotab Video
-
-
-
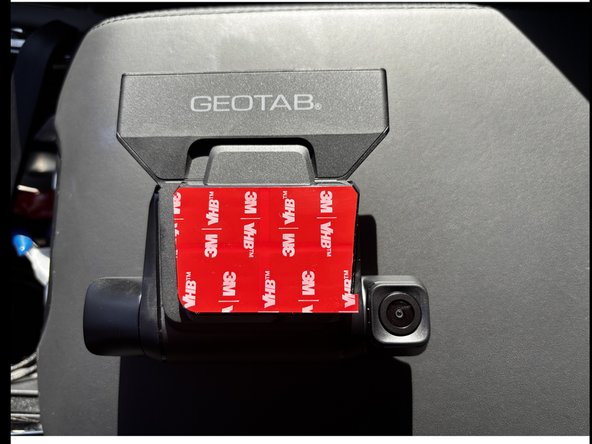
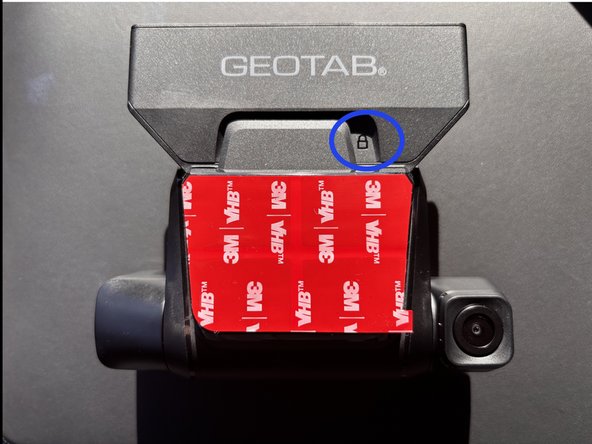
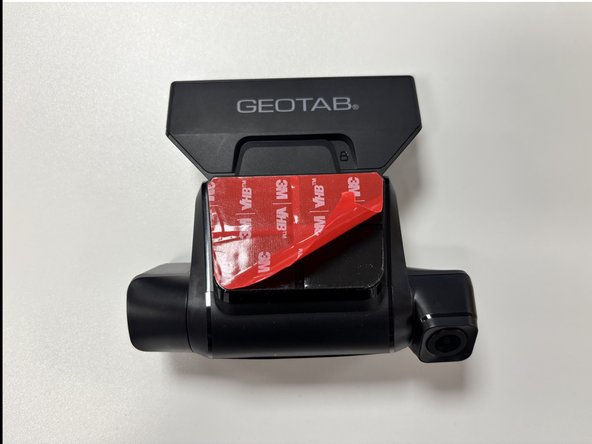
Attach the mounting bracket to the back of the Go Focus Plus devices.
-
Push the bracket until you hear a click and see the padlock engraved.
-
Do not remove the adhesive strip yet.
-
-
-
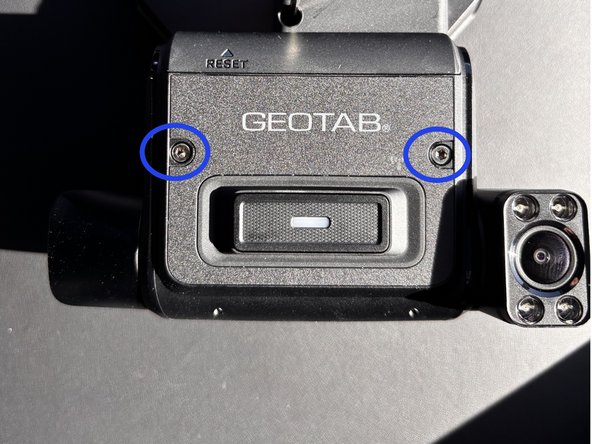
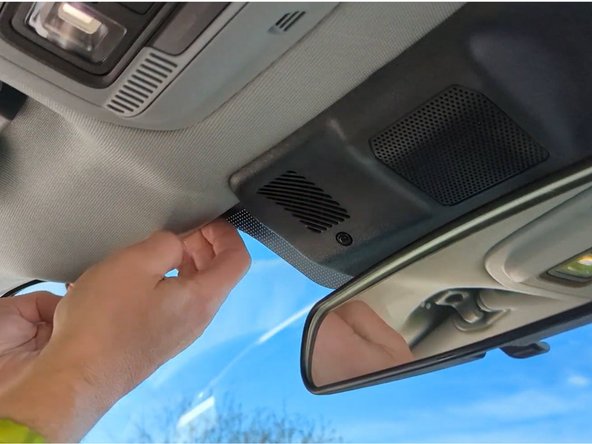
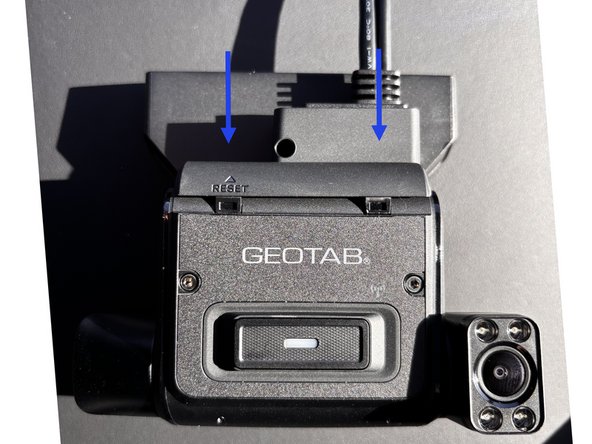
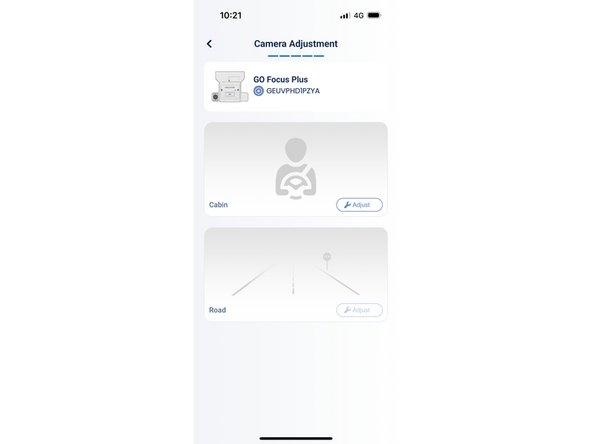
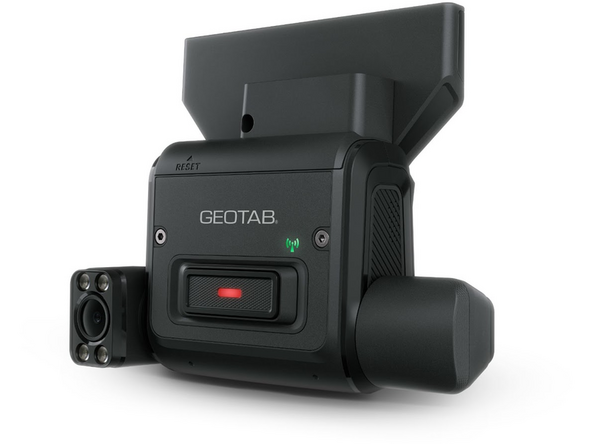
Using the provided hex key, loosen both dashcam locking screws to prepare the dashcam for adjustment.
-
-
-
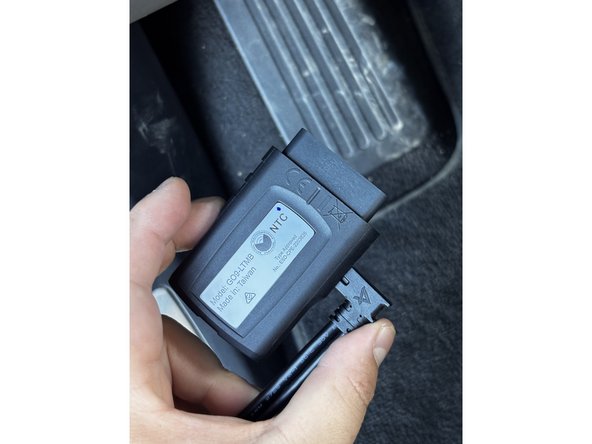
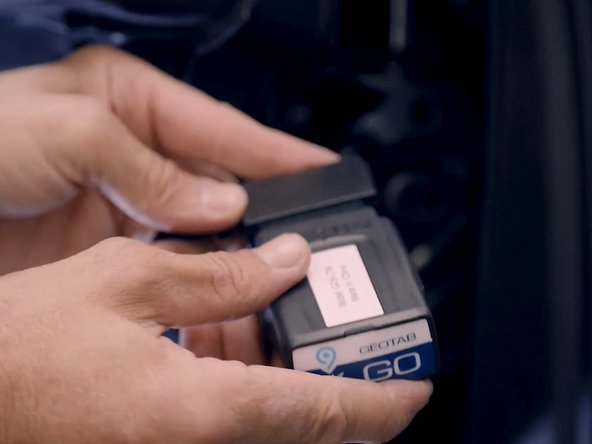
Ensure the GO device is not connected to the vehicle for this step.
-
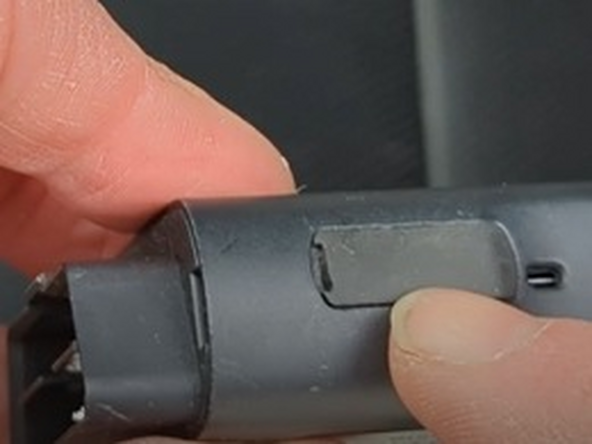
On the GO device, remove the IOX expansion port cover and plug in the IOX extension cable.
-
GO Focus Plus to work with daisy chained IOX devices. However, it must the last IOX device in the daisy chain due to lack of an expansion port.
-
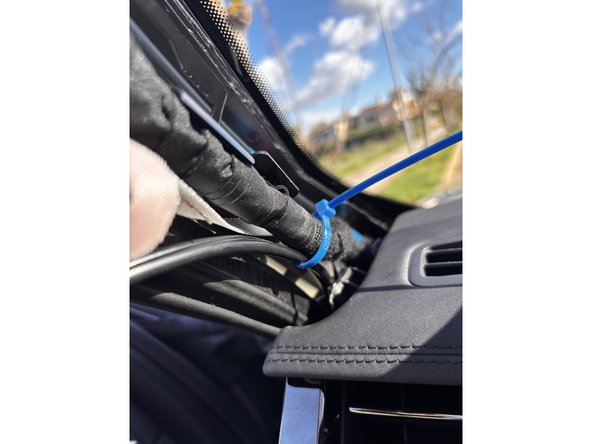
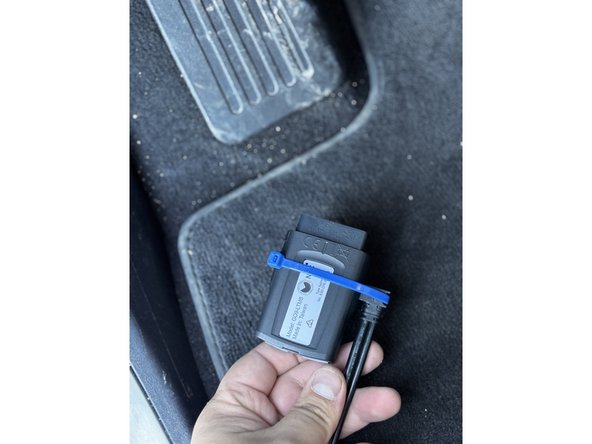
Use a cable tie to secure the connection and trim any excess tie.
-
Be gentle while tightening the cable tie, can get damage.
-
-
-
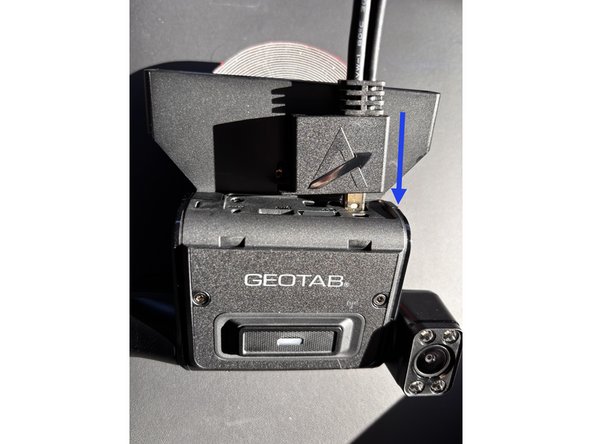
Connect the power plus of the Smart Cable to the Go Focus Plus device power port.
-
Attach the I/O cover to secure the cable. Tighten the cover lock screen with the provided hex key.
-
-
-
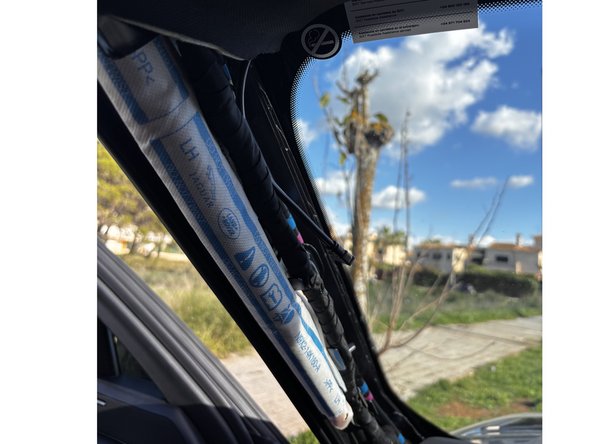
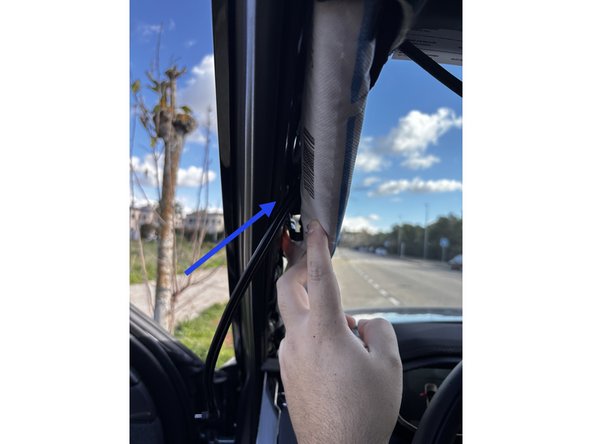
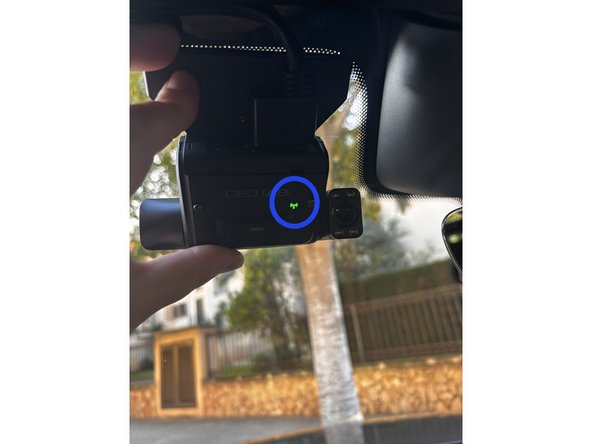
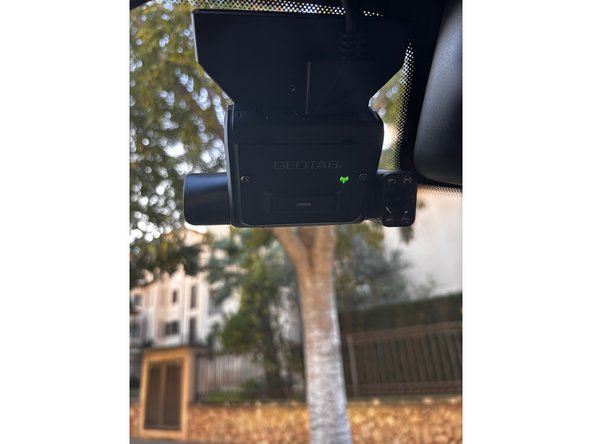
Next, install the GO device following best practices.
-
Refer to the following GO device installation documentation, based on your installation scenario:
-
-
-
-
-
-
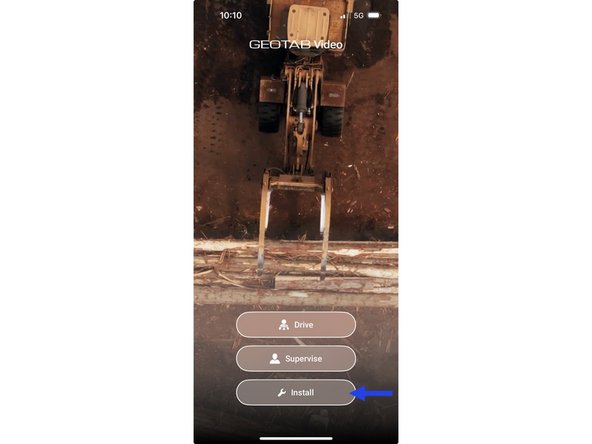
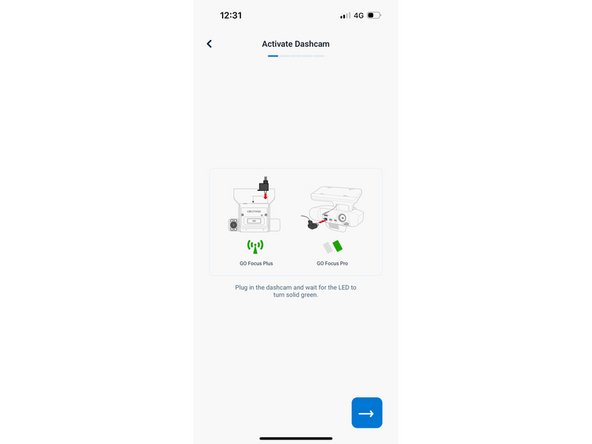
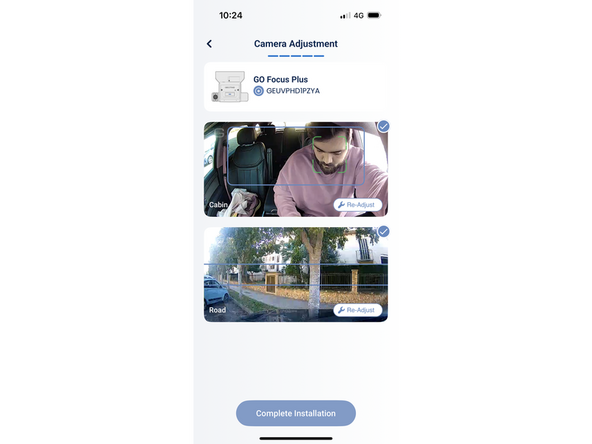
Open the app and tap install to sign in or sing up. you do not need to have an existing account and can use an unregistered email address to log in.
-
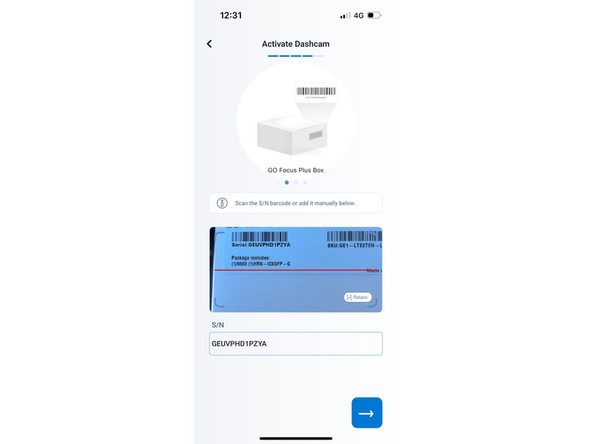
Scan the serial number of the camera or enter it manually.
-